 Deploy on Vercel
TeamWise Frontend & Admin
Note:The deployment steps on Vercel remain the same for both the frontend and admin projects. For demonstration purposes, we will specifically showcase the deployment process for the frontend.
1. Open teamwise-frontend directory that you downloaded from CodeCanyon.

2. Environment Setting:
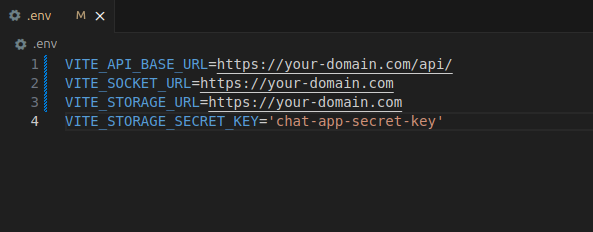
Open the .env file in your code editor and adjust the URL based on the reference image.
Note:Make sure you change your-domain.com to your specific domain name or sub domain name and also same for your API domain as well
-
VITE_API_BASE_URL: The base URL of the TeamWise backend API.
-
VITE_SOCKET_URL: The URL for the Socket.IO server for real-time messaging and presence updates.
-
VITE_STORAGE_URL:The URL for storage or file uploads.
-
VITE_STORAGE_SECRET_KEY: Secret key used for encrypting storage data.
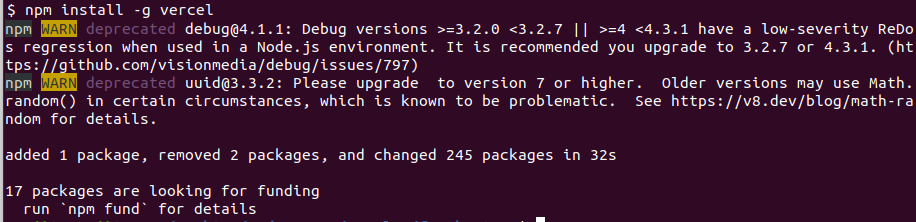
3. Install Vercel CLI:
Afterward, on your computer, install the Vercel CLI by running the provided command.
- npm install -g vercel
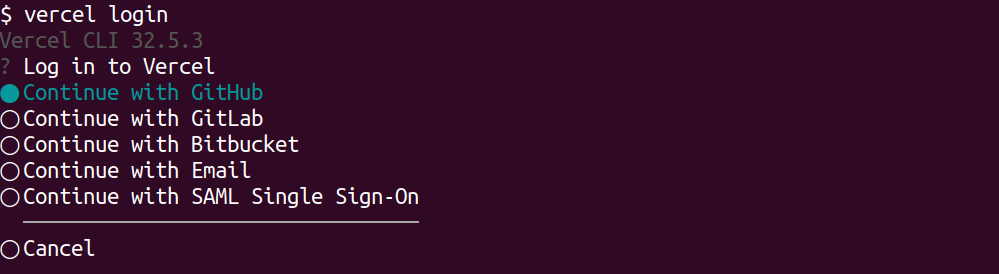
4. Login Vercel
Following the installation, proceed to log in to Vercel by using the provided command.
- vercel login

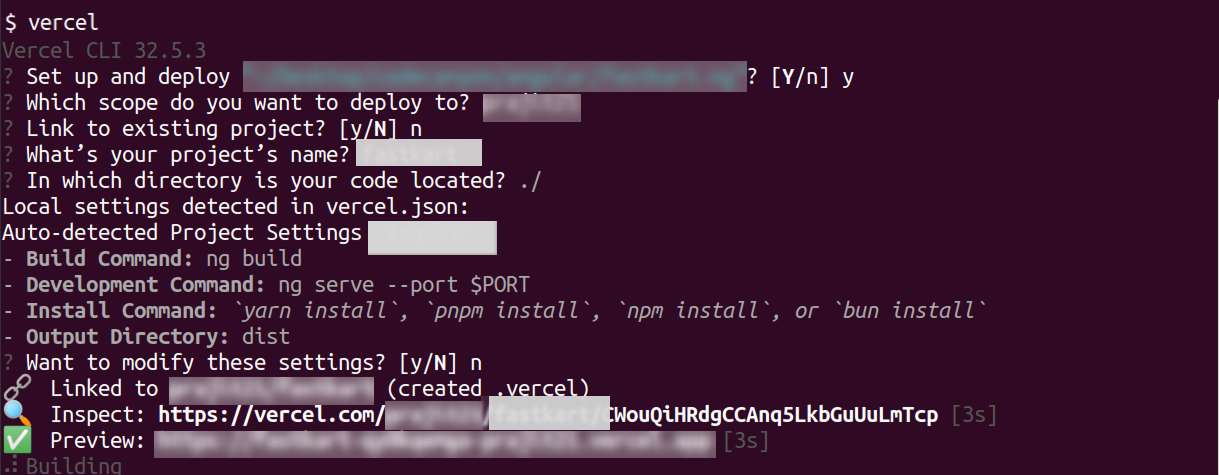
5. Deploy:
Afterward, In the teamwise-frontend folder, run following command in the terminal to deploy.
- vercel
Default Credential
Admin Credential:
-Url: https://teamwise-admin-pi.vercel.app
-Email:admin@example.com
- Password:supersecurepassword
Frontend Credential:
-Url: https://teamwise-front.vercel.app
-Email: aaron.stone@teamwise.com
- Password:123456789
Team Admin Credential:
-Url: https://teamwise-front.vercel.app/admin
-Email: aaron.stone@teamwise.com
- Password:123456789
What's Next?
Let’s get started — your team’s new home is Teamwise Chat!